The Carter Blog
Carter ARTicles
Mounting contemporary art
May 18, 2022
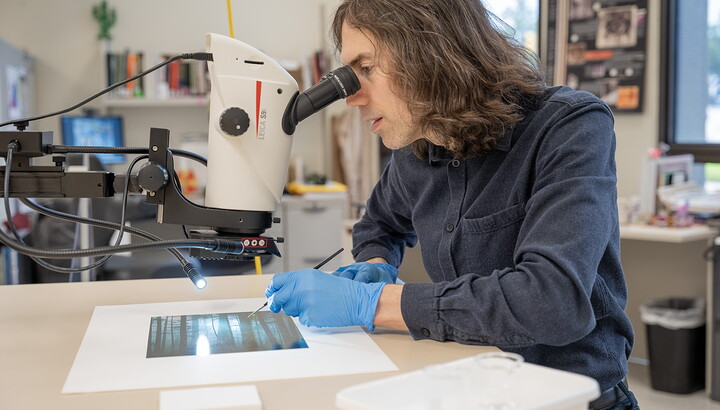
As preparators, our job is to prepare artwork for exhibitions and install it in the galleries. We must find solutions to unique problems and strike a balance between presentation and preservation. If we do our jobs well, it goes unnoticed by the public.
The Carter has collected more and more contemporary art over the past decade or so. A lot of contemporary art is not made of traditional materials. Sometimes the work has never been exhibited before it comes to us. These works present a good challenge!
Enter Royal-ty by Narsiso Martinez. This work is made of ink, gouache, charcoal, and gold leaf on eight flattened cardboard produce boxes. When the cardboard panels are assembled, the artwork measures 77-by-108 inches. The artist does not want the work to be framed but rather hung directly on the wall. Because the panels are made from produce boxes, each one has holes and slots that show through to whatever surface the work is hung on. When considering the future of this artwork, we decided that a unifying supportive backing panel would allow us to handle it as one object, and the cardboard panels would not have to be handled individually whenever the art is moved, displayed, or stored.
The idea of the support is that each cardboard panel is attached to a single large substrate that hanging hardware is attached to for display and storage. When designing the support, we considered several factors:
- Structural support: What will be strong enough to safely display the art?
- Materials used in the display mount: Are they safe for the art? Any materials that come in contact with art must be archival. This means that the material is pH neutral and won’t adversely affect the art.
- The support backing must be lightweight enough for two people to comfortably handle.
After consulting with our paper conservator, we decided to hinge each panel of the artwork individually to a large support made of double thickness blueboard (an archival cardboard) adhered to a wooden framework. The hinges are made from mulberry paper hand torn in approximately 2-by-5-inch strips. The ends of the strips were adhered to the back of the artwork using an archival glue. We attached two to four hinges to the top of each cardboard panel. Each hinge passes through a corresponding slot cut through the blueboard substrate and taped to the back of it. To achieve the size and rigidity that was necessary, we laminated eight sheets of blueboard and trimmed it to size.

Using weights during lamination of blueboard substrate.

Royal-ty laid out on the substrate for hole tracing.

The substrate after holes and slots for the hinges were cut.
Next, we laid the pieces of Royal-ty on top of the substrate in its proper order and traced each opening in the cardboard onto the substrate. We also cut slots in the substrate for our hinges to pass through. After every hole and slot was traced, we removed the artwork and began to cut the holes. Cutting holes and slots in double thickness corrugate can be pretty hard on the hands! We quickly realized that a hole saw could be used to cut the various sizes of circles. This was a hand saver! After all the holes were cut, the substrate was laid facedown and we placed 1-by-2-foot strips of wood in a pattern that created a rigid support but didn’t show through the holes. After determining the position of the wood strips, we glued them to the blueboard to create a rigid frame support. The wood framework also provided us a place to attach D-rings (hardware used to hang on hooks).
The next step was to mount the artwork to the substrate. We laid the substrate faceup on two 4-by-8-foot tables spaced 2 feet apart. We arranged the artwork in its proper position and placed small weights on top to prevent any movement while we fed the hinges through the slots on the substrate. To attach the hinges to the back of the substrate, we crawled under the table to access the back of the artwork through the gap between the tables. Then we taped the other end of the hinges to the back of the substrate. To tape all the hinges, we simply shifted the substrate over the gap to access the hinges. Once the hinges were taped down, we lifted Royal-ty to check our work. After checking all the holes and slots to make sure the substrate isn’t visible from the front, we determined it was a success! It’s this kind of payoff that makes our job rewarding.


